I was invited to review a photo editing software and app set with a brand new graphic design function, and with a name like BeFunky, I could. not. refuse.
I’ve tried several photo editing programs before, some I’ve never used again and some I use occasionally. This one was really easy, though, and had a lot of fun options for adding interest to your photos.
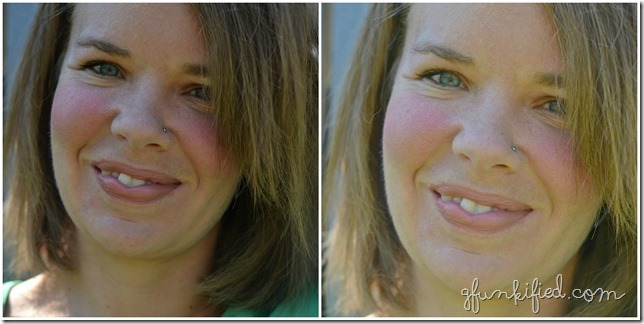
The first thing I did was edit some headshots that I had Ivy help me with. It was really easy to make some changes with exposure, sharpening, color, etc, and in a few minutes, I had these (the photo on the left is straight out of my Nikon, the right is the edited version):
I used the “Vintage” effect on this first one and cropped it.
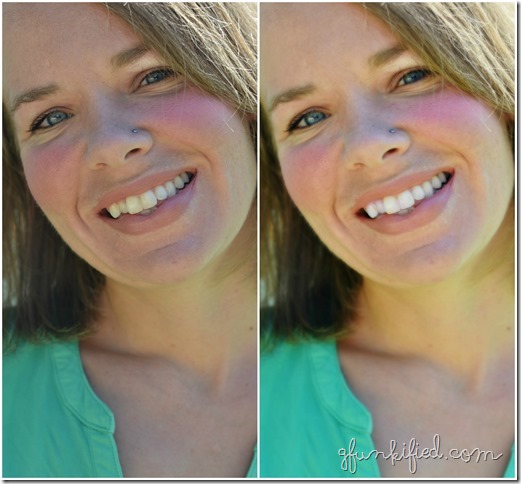
I lightened up the exposure on this one and even used the “teeth whitening” tool under “Touch Up” for this one:
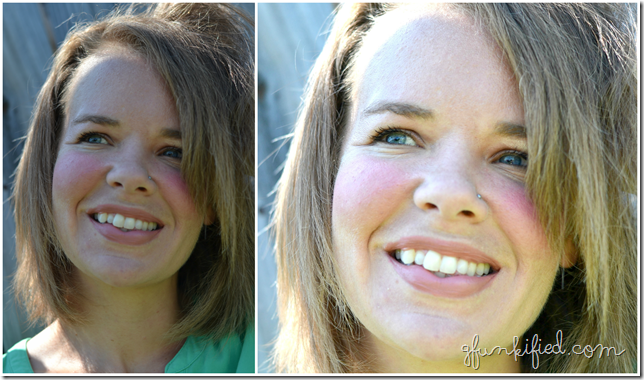
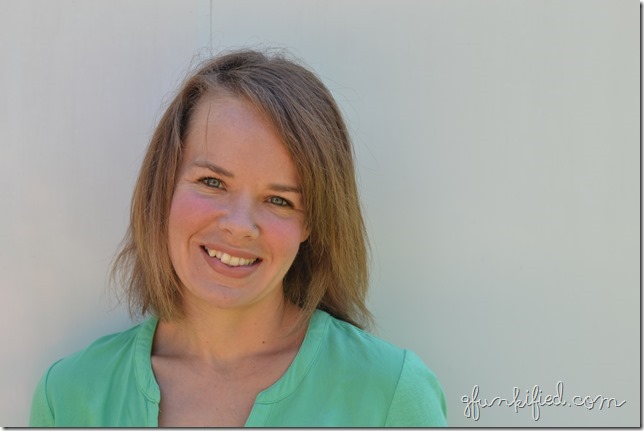
And this one ended up being my new Facebook profile picture:
The Collage Maker that I used for these Before and After pictures was totally easy, too, and there were so many options that I didn’t play around with.
I also used the Photo Editor of the first day of school picture of all three kids.
This was the Before:
And this was the After:
I added all of the numbers in 2015 separately under the Graphics Tab, and used Screen under Blend Mode to make them sort of an overlay. I then added the Typewriter text preset under Text to do the “1st Day of School” font, color, overlay/background without doing a lot of work but still ending up with a cool text effect.
There are a lot of fun graphics, stickers, text options, and effects to choose from and play with.
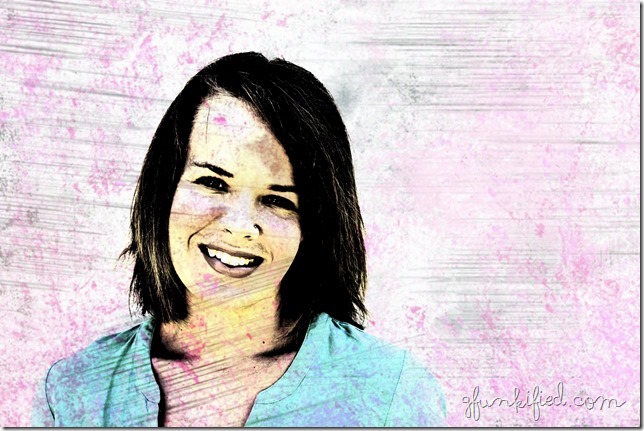
Just for fun, I messed around with the effects on this picture, also using the Photo Editor:
And ended up settling on this, “Grunge” effect:
I like myself with dark hair.
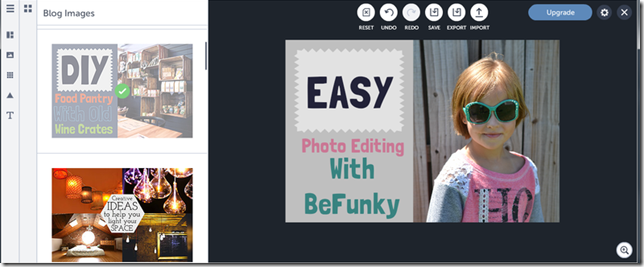
And last but not least, the Graphic Designer is SUPER COOL for making images for your blog, Pinterest, Facebook, whatever. You can even upload pictures from Pixabay, their free online stock photo partner, if you don’t have an image that works for what you’re doing.
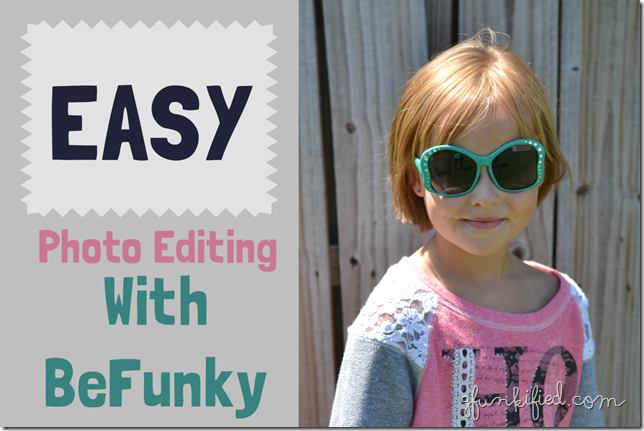
I used a template in the Blog Images tab for this one. It also took me about five minutes!
There is a free version of the software and app with the option to upgrade to the premium version for additional effects, templates, etc. And the app has the same features and is just as fun and easy to use as the website, so I can just as easily edit a picture on my phone as I can edit a Nikon picture that I’ve uploaded to my computer.
What would you use BeFunky for?
I received compensation for this review, but all opinions, experiences, and editing successes/blunders are my own.








 Logging you in...
 Loading IntenseDebate Comments...
Ooh sounds good!
That sounds like a good one – I love playing with new photo editing apps!
Fun-ky! Sorry, I couldn't help myself. I can't wait to try it!
Very cool! I love your new Facebook profile picture.
Super! I will try it soon for editing my childhood picture. Thanks and keep posting like this.
Great app i will definitely give it a try !